We can all agree that this past year has been a wild one! As we digest the good and the bad, I am AMAZED at the ability that all teachers have shown to meet the needs of their students. We have all worked to learn all the different technological options. I keep saying to my coworkers, “If someone had asked you a year ago if you would be teaching virtually or hybrid or even regularly posting in Google Classroom, you would have said they were crazy.” Yet, here we are.
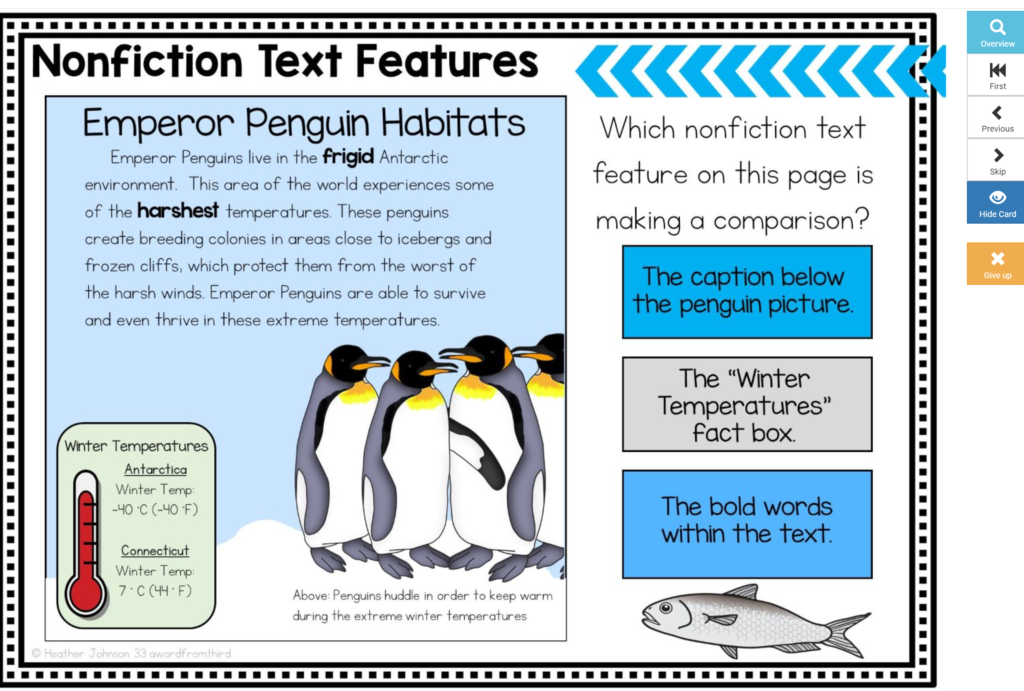
Last spring I kept hearing about Boom Cards, but I really never looked into them. Then as we found ourselves fully virtual, I decided to seek out more interactive ways to engage my students. I looked into Boom Cards and started to make different sets of them for my students to use. They LOVED them and were hooked right away. I loved that I could assign the Boom Cards within Boom’s learning platform, or I could just link a “fast pin” version right in my Google Classroom Stream or Classwork for the kids to practice the skills. This took a lot of grading off my plate and let the kids practice the skills over and over as much as they needed to. You can check out a post about using Boom Cards here. You can also grab a free deck to try here in our Free Resource Library.
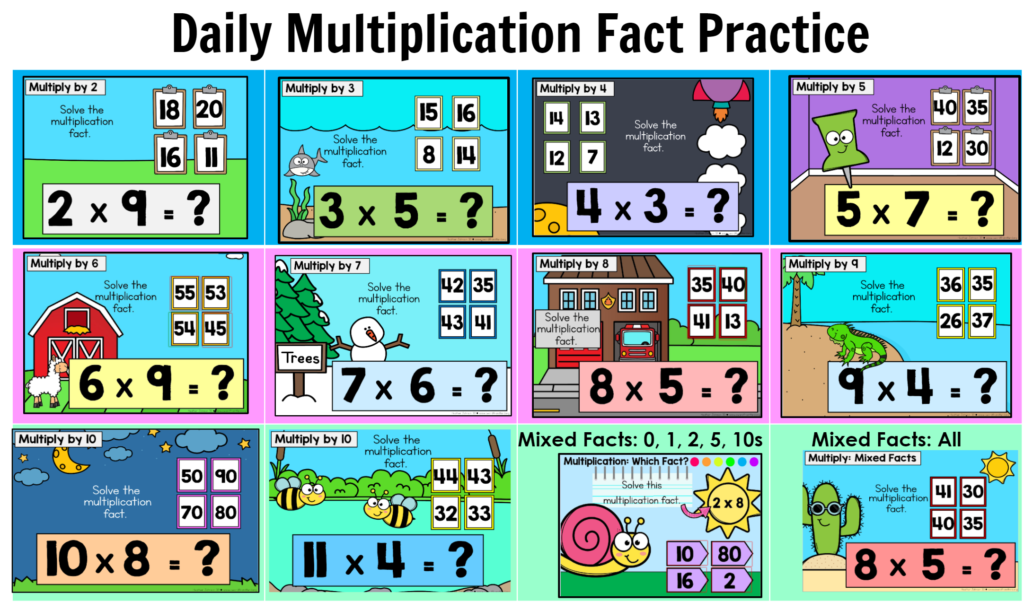
I want my students to practice, practice, practice their skills, especially in math and grammar. In order to make the practicing more engaging, I decided to create Boom Choice Boards! My students LOVE them. By sharing choice boards with them, it allows students to make their own choices about what they want or need to practice. I organize choice boards by putting different skills in different rows, or sometimes putting the easier skills in the top row and have the skills get more complex as they work their way down the Choice Board.
In order to make a Boom Choice Board, I do the following
Step 1: Open up a Google Slide (or it can be done in Power Point).
Step 2: Create the background that you would like. I used the “insert” “table” option to make different rows and columns (totally optional). I also used arrows and text boxes to label the different parts of my board.
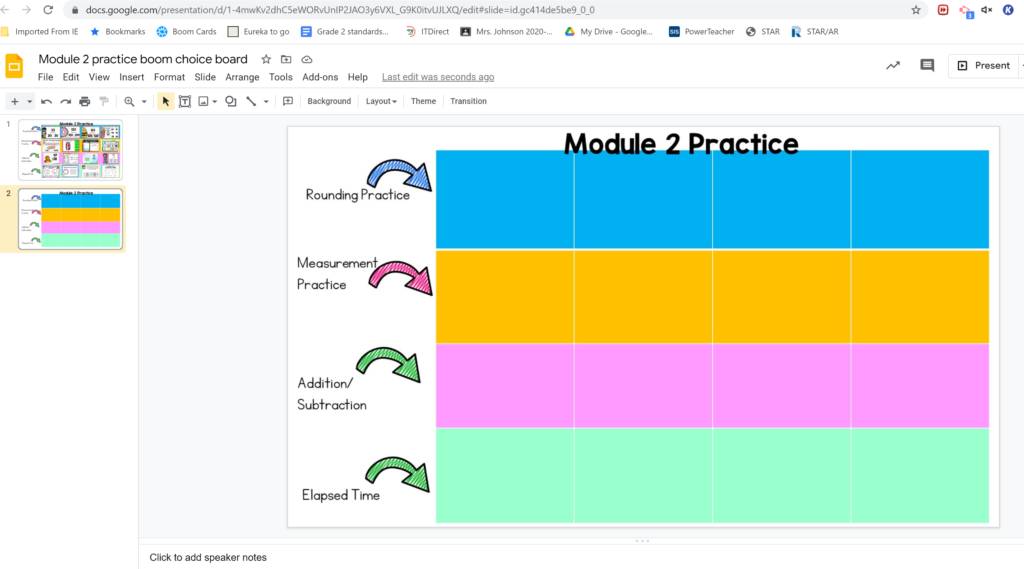
Step 3: Start placing the pictures of the card sets you want to use. I use a mix of ones that I have made myself and some that I have bought (Hint: You can also find MANY on Boom for free!!!).
*NOTE: I used screen shots of each deck, but you could just use shapes that kids could click on if that is easier for you…keep it simple!
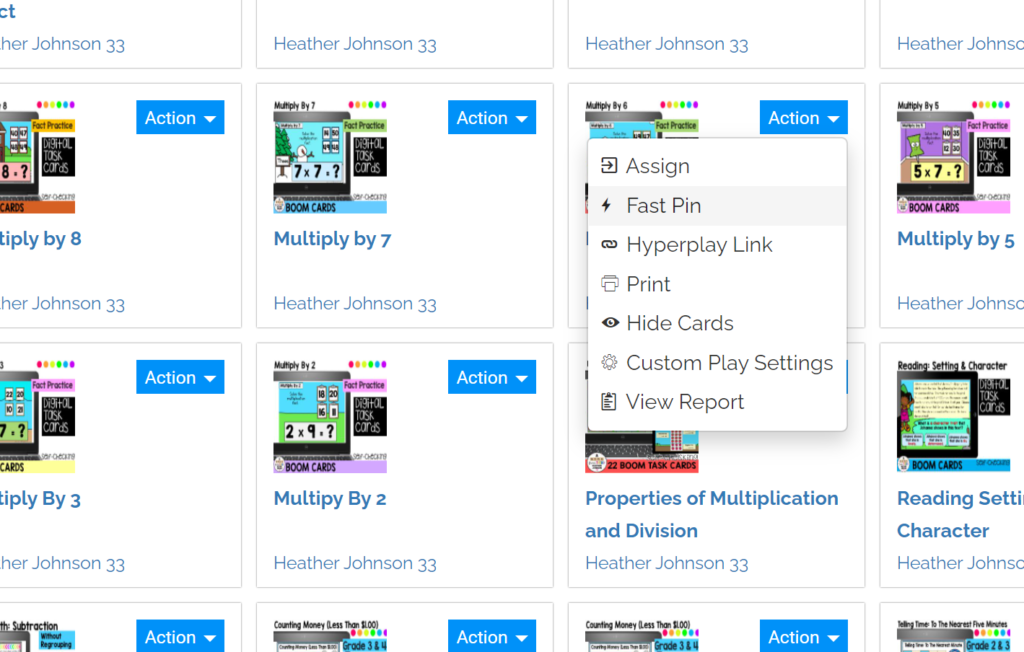
Step 4: Once I put all of my pictues in, then I create Fast Pins for each deck.
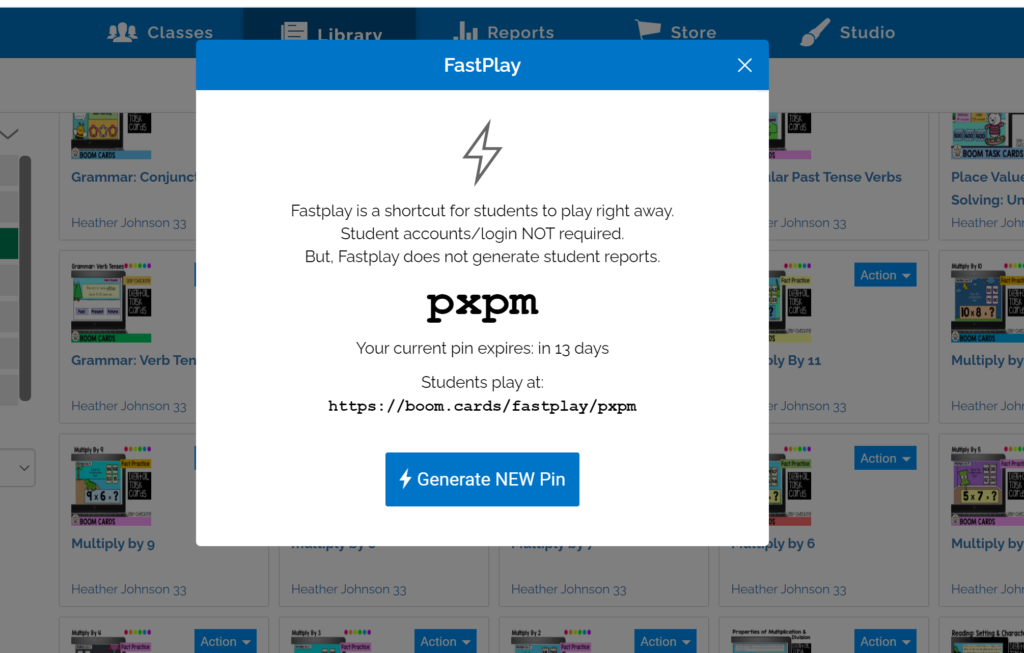
Step 5: Next, I hyperlink each Fastpin to the correct picture. These fastpins will last for 14 days. Afer 14 days you will need to regenerate new Fastpins and relink.
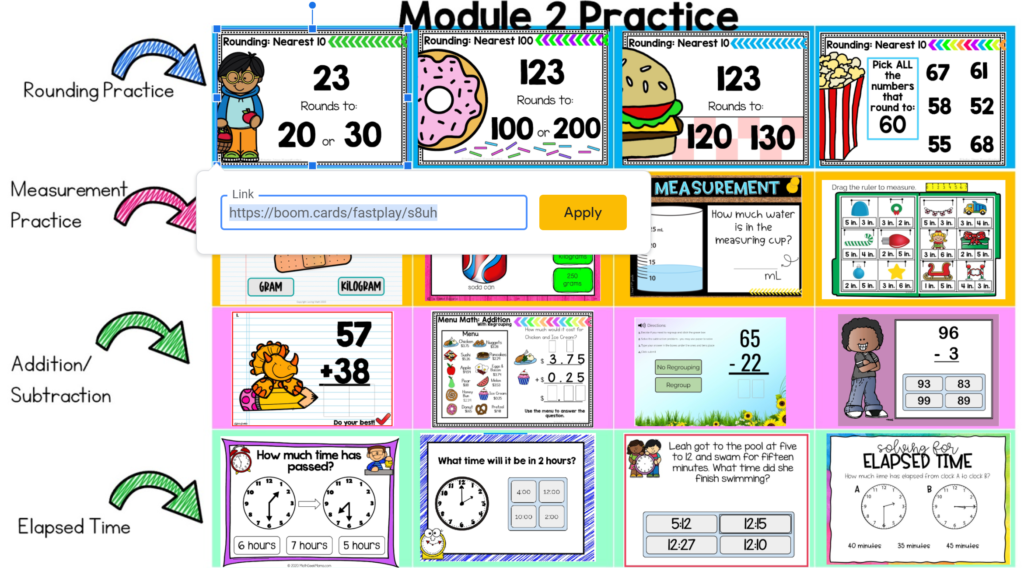
Step 6: Add the slide to your Google Classroom either in the stream or the Classwork section (Be sure to check your “share” settings).
I hope this helps a few people out there who are looking for ways to engage their student in more meaningful practice while also giving them some choice. There are many other ways to use Boom Cards (including a Whole Class Review Game found here), but I find that these Fastpins make it so easy and simple for kids to get the continual practice they need.
Good Luck! Enjoy!
Heather


